I learned about poured watercolor from Youtube videos. It’s a time intensive process as you have to wait for the paint and masking fluid to dry thoroughly between steps. You don’t get the full appreciation of this by watching a condensed video!
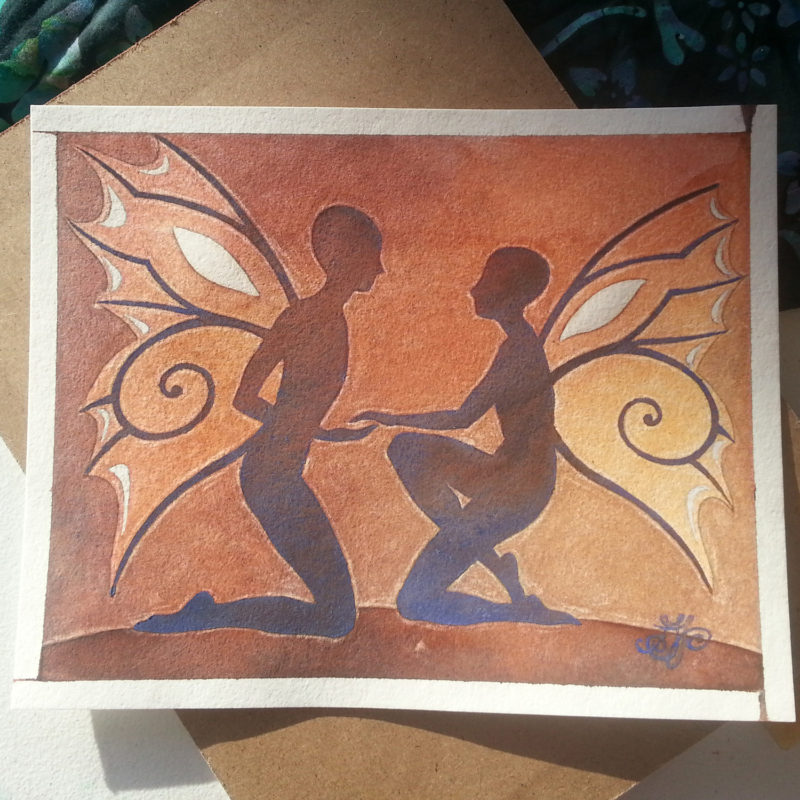
This moderately simple 8×10 painting took me an entire workday. More, considering I’d already made and refined my drawing. It’s too soon for me to speculate whether I’ll use this technique again, but what I learned from the attempt I’m happy to share:
- Do a simple test first! This rule applies to anything you’re trying to learn. I subscribe to Intelligent Fast Failure– the idea that trying things in smaller steps results in less disheartening and more educational failures. This time I didn’t test the whole process, and towards the end of the day I was uncomfortable not having a better idea what I’d find when I lifted the masking fluid and uncovered the result of those hours of effort. (There were a couple things I could have avoided, but luckily no big surprises.)
- Wear a mask while masking because the ammonia smell of masking fluid is powerful. Depending what kind you get, it may even have components that cause neurological damage when inhaled or absorbed through the skin; check labels before you buy. Or try gum arabic in place of masking fluid?
- Watercolors with lots of water can dry a lot lighter than expected.
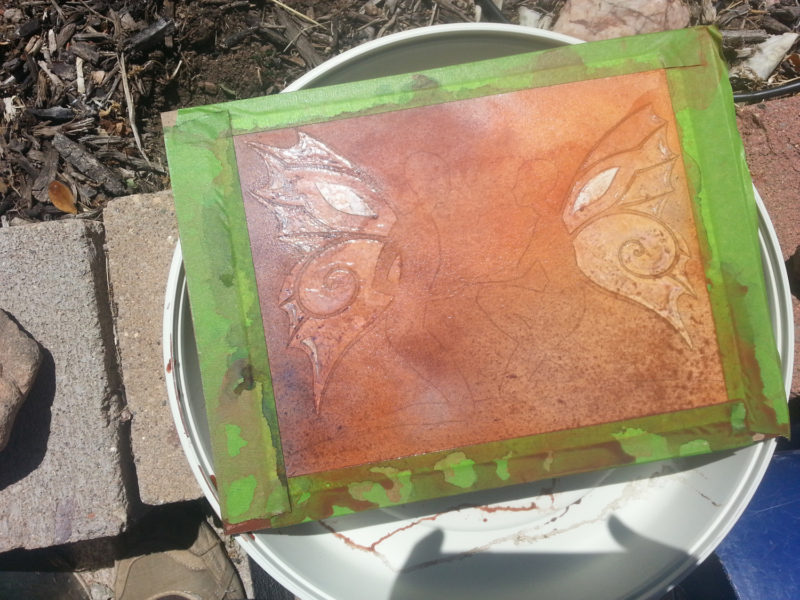
- The Arizona sun is great for multi-step drying processes like this. I sat outside and literally watched the paint dry between steps. It was lovely.
- I enjoy process-based art. This takes me back to screen printing in college: I made my design, had a plan for how it would look, and everything after that was mechanical yet satisfyingly skilled handcraft. No room for impromptu decisions that could alter the original intention of the image. Good for those of us who tend to second-guess!
- Brush for large areas, ruling pen for accurate outlines.
- Dip the masking brush in slightly-watered dish soap first. This prevents the latex from bonding with the brush hairs, and you can easily clean and re-use the brush. No way will I start thinking of tools as disposable, even cheap ones. If the process requires that, then the process needs to be re-thought.
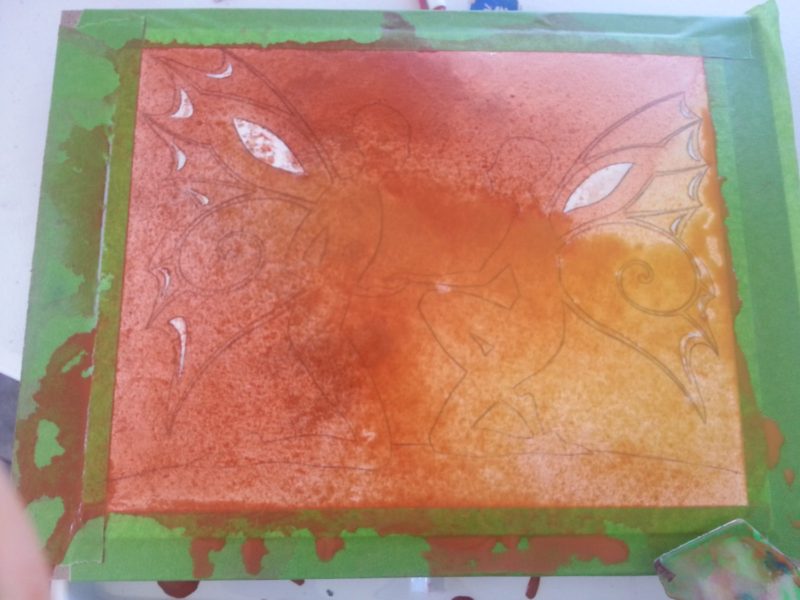
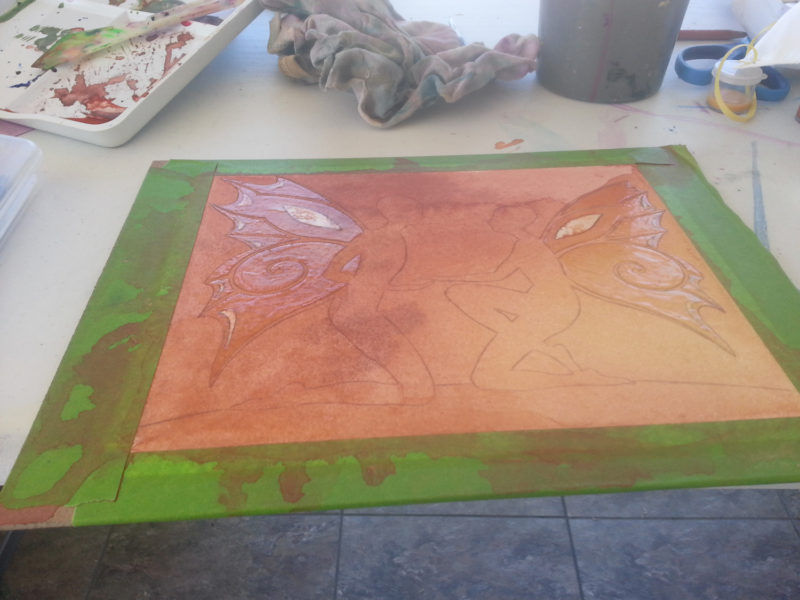
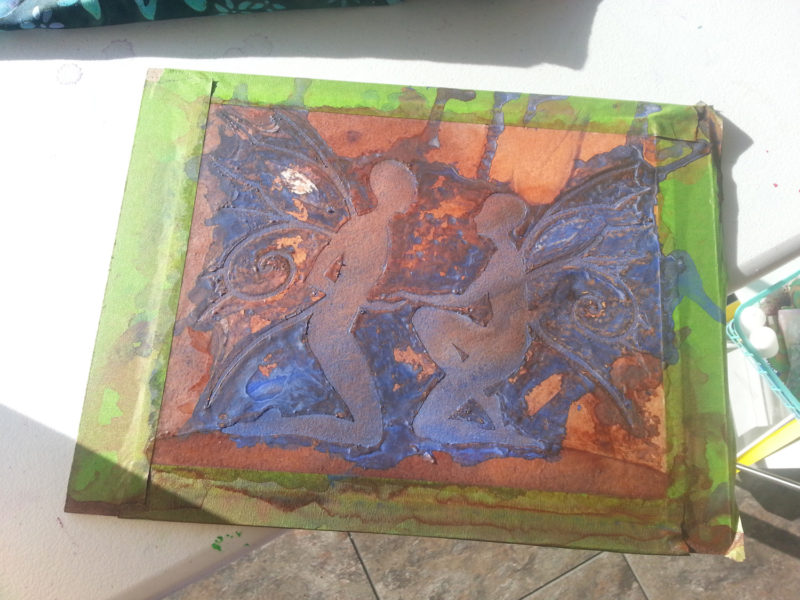
- A ruling pen is wonderful for applying masking fluid, but use it gently. You can see halos around my figures; that’s where I scratched the underlying layers of paint with the metal tip of the ruling pen. It’s kind of a neat effect, but if I do this again I’ll be more careful. On the other hand, I can’t imagine trying to apply masking fluid in all those acute corners with a brush; even with the dish soap trick, the brush would be useless before long because of the number of times you have to clean off the quickly-drying masking fluid globs.
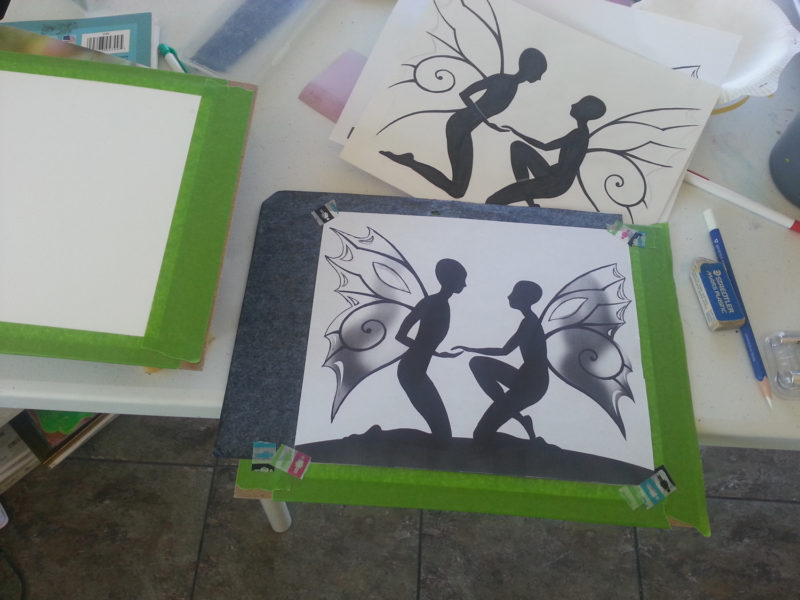
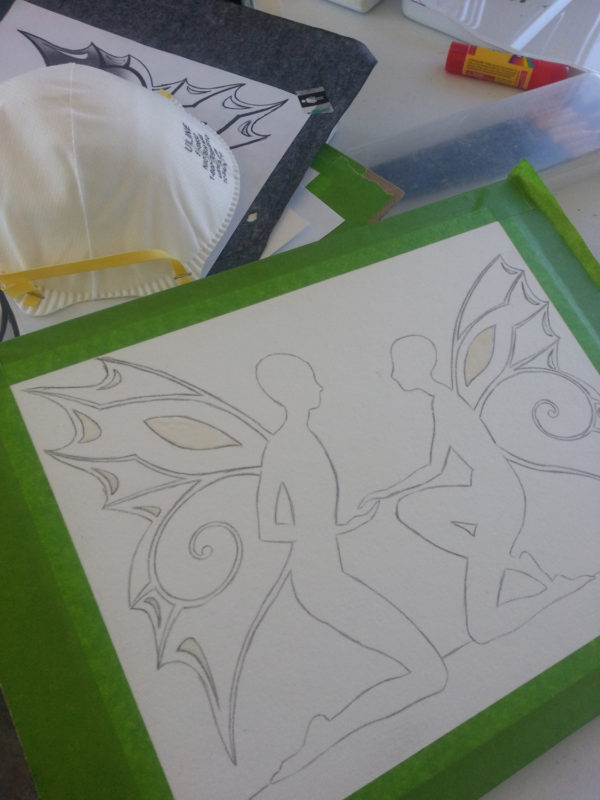
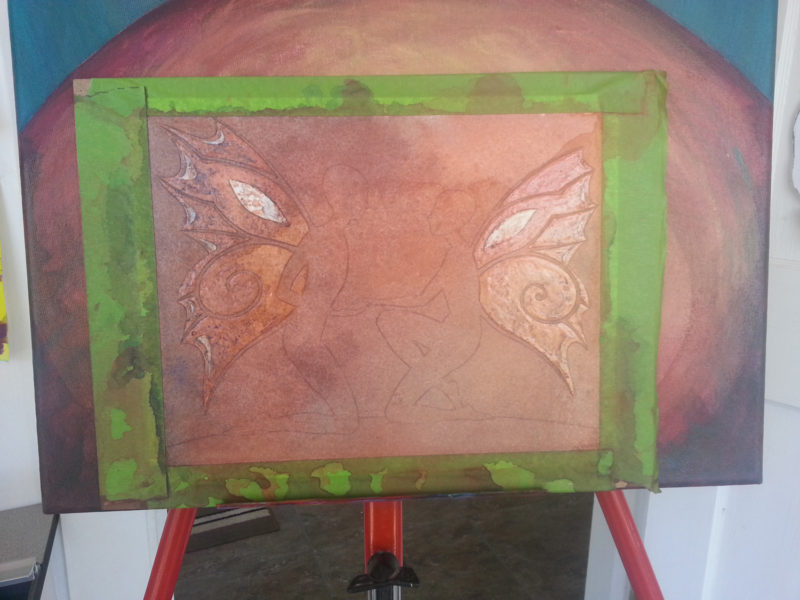
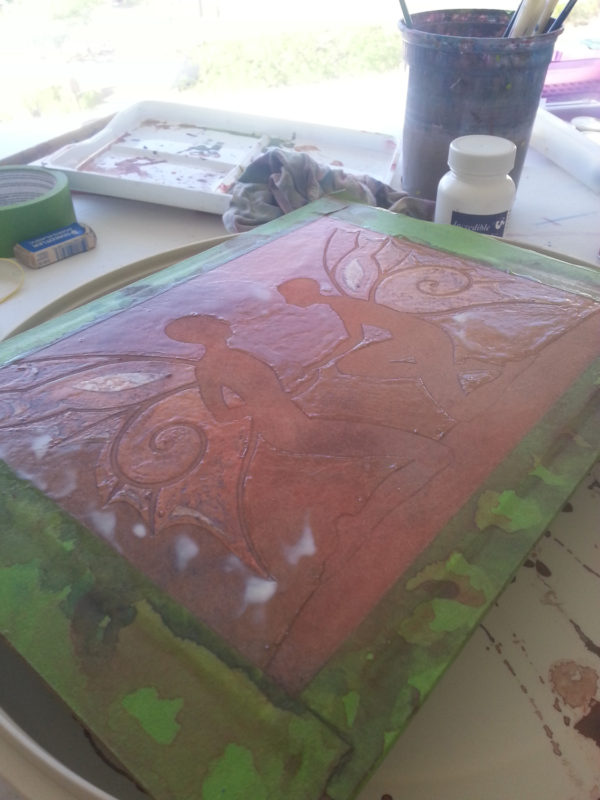
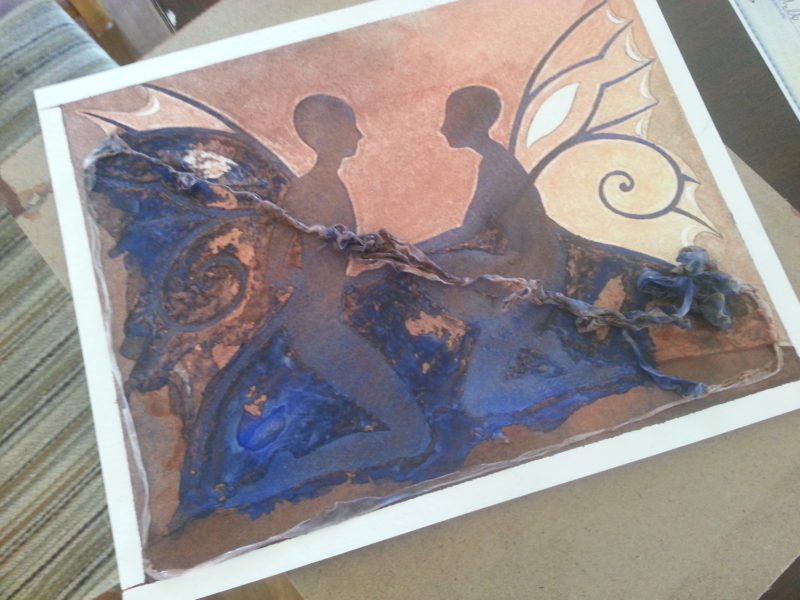
My painting in stages: