
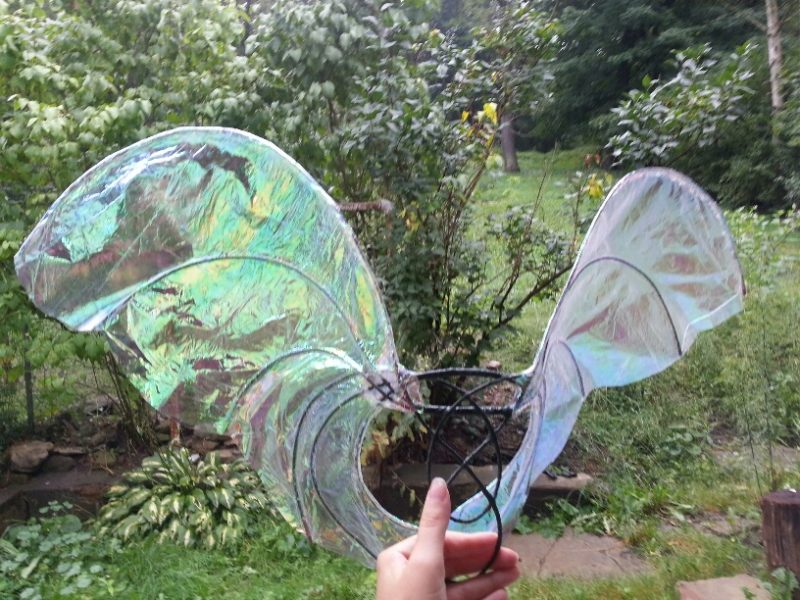
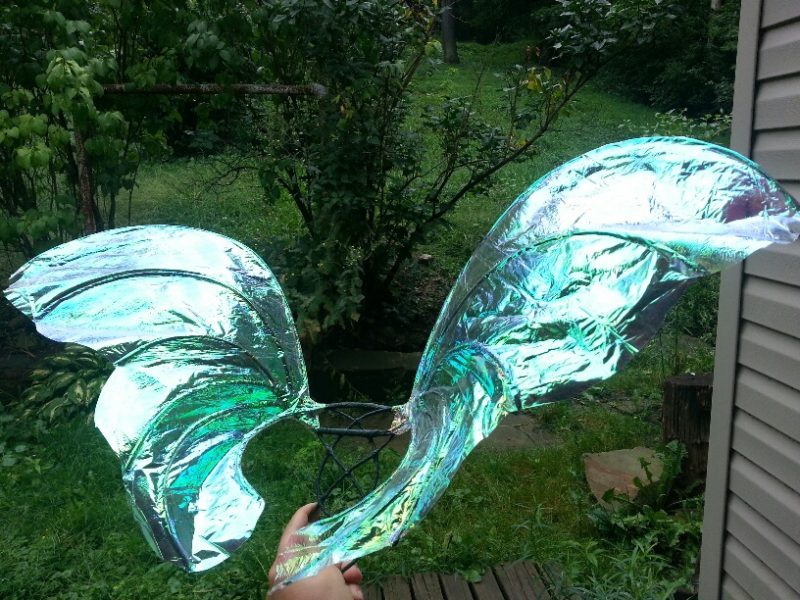
Here is my very first pair of wings, completed this morning!
I used the Faerie Muse tutorial as my guide; she gives excellent details, though I admit I skimmed through some parts. (Note 9/4/2016; that tutorial has been offline for several months so I removed the link).
Notes:
1. I’m a perfectionist, so I put this off for a long time. How long? Years. Every time I saw a web tutorial, or an artisan page about faerie wings, I would dream of making my own. But I was so afraid of screwing it up, or trying something new and making a horrible mess and having yet another half-finished project… silly but powerful fears. Now that I’ve done my first, I cannot stress enough: IT’S NOT THAT HARD.
- The iridescent cellophane camouflages a lot of flaws, because light is bouncing off of it everywhere, confusing the eye. These are not perfectly symmetrical. There is a hidden tear. There are visible folds in the cellophane from how it was packaged. But the overall visual effect overpowers the flaws.
- I’m familiar with first attempts at a new craft being big old wastes of time, or, “learning experiences.” “It’s all about the process”, friends will say, trying to be kind about the pile of junk I find myself tasked with the disposal of. While I did learn from this, I also ended up with wings I’ll be happy to wear.
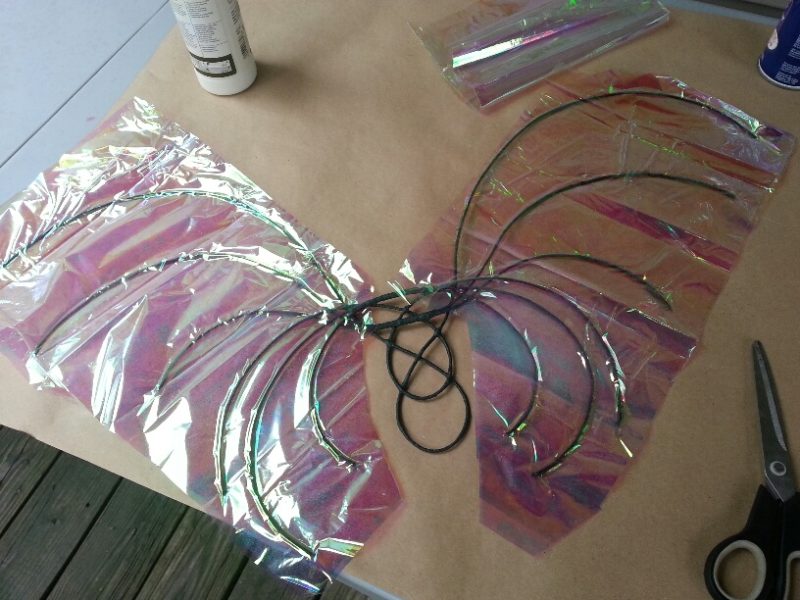
2. I had the wire-frames already made (the wire is wrapped around with floral tape. They took an hour or two, if I recall. Deciding on the initial design was probably the hardest part.
3. Here I have sandwiched each wire-frame wing between two pieces of cellophane using spray glue. I didn’t use much because I was counting on the iron fusing together the cellophane, which it did in a more limited way than expected. I was glad to have a cheap craft heat gun on hand; it seemed to improve the bond.
Next time I will use more glue. I might try just glue and the heat gun and eschew the iron altogether as I don’t like the possibility of gumming up my iron.
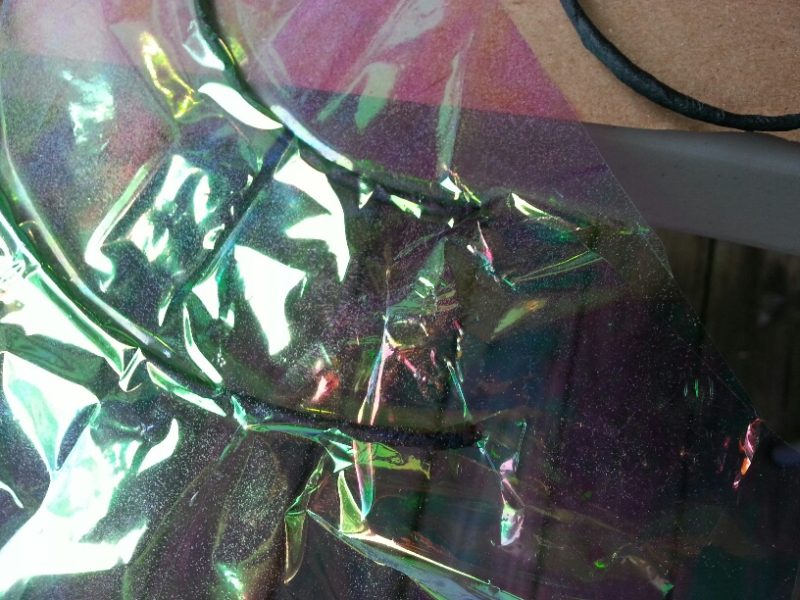
4. In the above image, I have torn the cellophane while trying to pull apart the layers in order to space the wires more evenly. I gave up trying for perfect symmetry and repositioned the torn bit of cellophane with more spray glue.
5. The torn bit camouflages with the crinkly look caused by ironing the cellophane. Unfortunately, the crinkles didn’t hide the fold marks (my cellophane came in folded sheets).
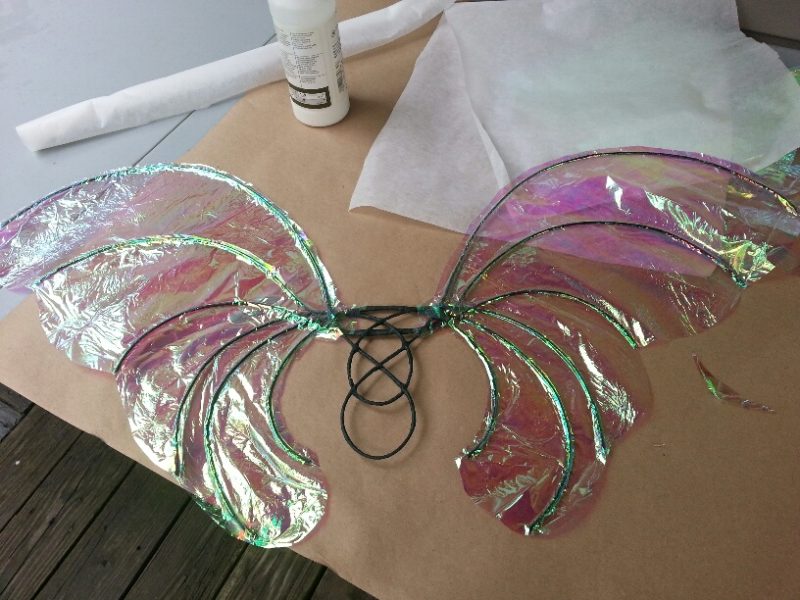
6. I folded over the edges and attempted to seal them down with superglue. It wasn’t very effective and I can’t feel my fingertips, but I did have a hot glue gun handy, and it turns out, it is much easier to use than super-glue.

7. The wings, bent back from the center piece, have a graceful dimensional quality I wasn’t expecting!
So now that I have wonderfully shiny faerie wings, I will have to put together a costume to model them with! I’m particularly excited to get some reference shots for my artwork 🙂
Totally awesome!! Will have to try this 🙂